This project is maintained by
Ben Keen @vancouverben
How to Install
The Data Generator comes with it's own browser-based installation script so installing it should be a doddle. I tried to make the process as painless as possible.
Step 1: manual labour
- Download the latest tag from github. This contains everything you'll need.
- Unzip/untar the file on whatever server you want the script to run, and somewhere within the webroot (i.e. somewhere that can be accessible by a web-browser) Note: this server must be meet the (pretty basic) requirements outlined in the previous page.
- Boot up your web-browser (anything other than crappy old IE browsers is fine) and go to the Data Generator folder. You should be redirected to the installation script.
If you get an error at this juncture, chances are the script is unable to write to your cache folder. This is more likely to happen on a Windows server. Make sure the permissions on your [generatedata folder]/cache/ are full read-write.
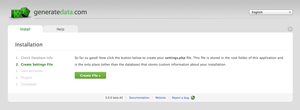
Step 2: installation script
At this point the installation script will lead you through the rest of the installation process. It should be pretty self-explanatory, but I'll explain each step just in case.
-

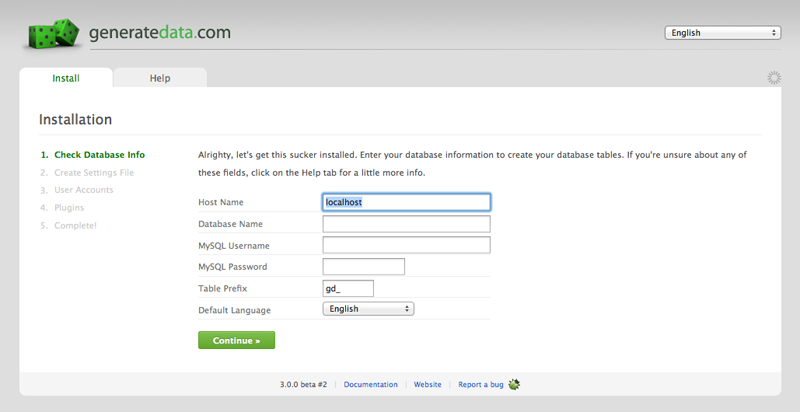
The first step is to specify your database settings. As with all web scripts, the Data Generator expects you to have created a database already. That database can be completely new, or contain other tables - it doesn't matter.
Most of the fields on this page are self-explanatory; if you're not sure about any of them, you'll need to speak to your hosting provider, or do some googling to figure out how to get it working locally.
The language dropdown at the top right changes the language for the current page - it doesn't, however, change it for your actual installation. For that, select the appropriate language in the Default Language field.
-
The second step of the installation script creates your
settings.phpfile. This file is special: it's the only file in your Data Generator installation that contains unique settings for your environment. The installation script attempts to create this file automatically, but in case it doesn't have the permissions to do so, it will let you know and show you the contents of the file that need to be created. If this occurs, you'll need to manually create yoursettings.phpfile in the root folder of your Data Generator installation. Once you refresh the page it will allow you to continue with the installation process. -
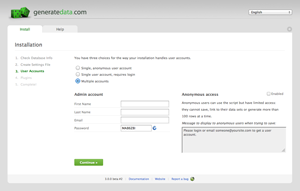
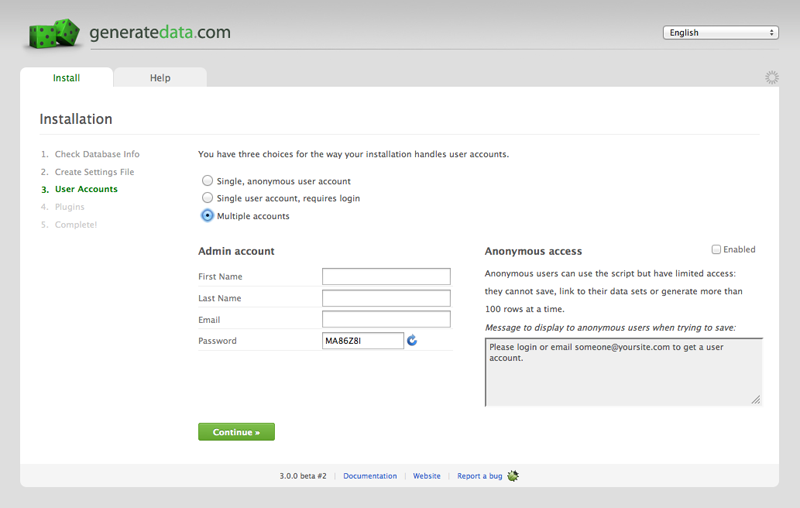
Step 3 lets you specify some details about who's actually going to be using this script. This is totally up to you and you can pick the one that best suits your needs. Exactly what options appear in the page depend on what you choose for the main user account type field. Here's what they each mean:
- A single, anonymous user account - all saved configurations will be on this single user. No-one needs to authenticate in order to access the script. This is the simplest setting - best for single-person or very small teams where no security is a good thing.
- A single user account, requires login - the same as the previous option, except the user needs to log in to use the script and save data sets.
- Multiple accounts - this lets you set up any number of user accounts, each with their own login information. This option is perfect if you have a team, all of whom need to use the script to maintain their own data sets.
If you select the last option, the Anonymous Access section will appear, as shown in the screenshot. That let's anyone get access to the script without having to log in, however they'll have limited access. The textarea field lets you enter a custom message that will be shown to those users if they try to do something they don't have permission to do so - like save a data set.
-
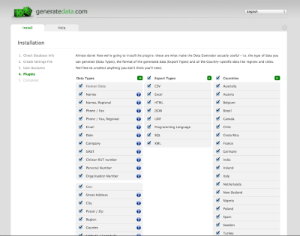
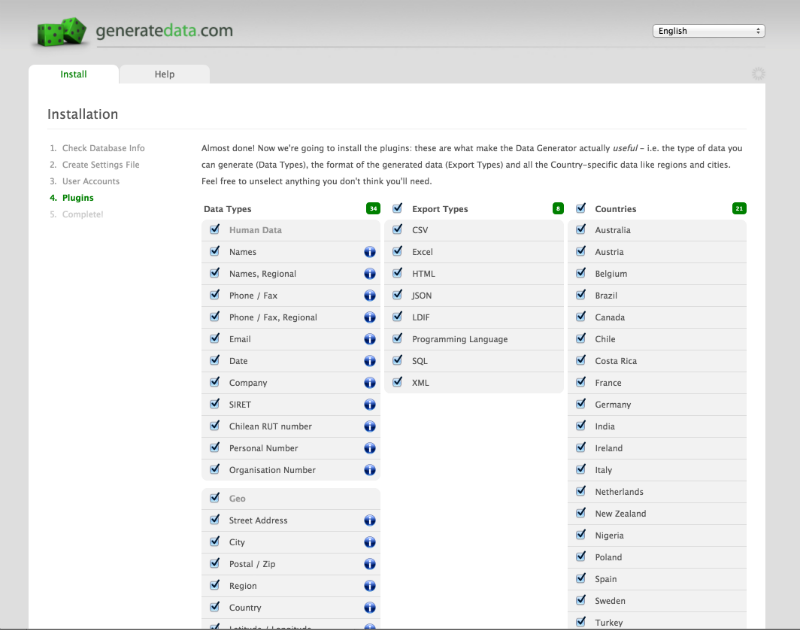
Step 4 installs all the plugins that came bundled with the script [note: this step changed with version 3.2.2]. On this page, you are given the option of selecting exactly what plugins you want to install. Since the list of plugins keeps getting bigger and bigger, you may find that some of them (Data Types especially) aren't that useful for you. Just mouseover the info icons for the Data Types for a one-line description of what they do. The Export Types and Countries are self-explanatory. After making your plugin selection click the button at the bottom of the page to continue.
-
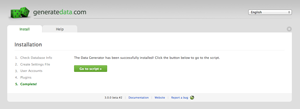
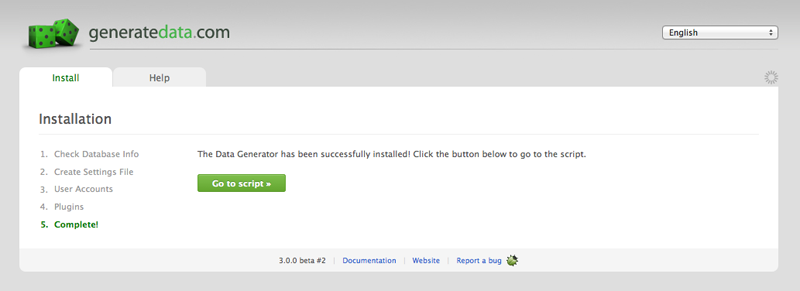
And we're done! Click the button to be taken to the script. For convenience, you've already been logged in. Have fun. :)

Installation Problems?
Report them on github. Thanks!